Configuring your Unreal Project for AR/MR
Configuring your Unreal Project for AR/MR
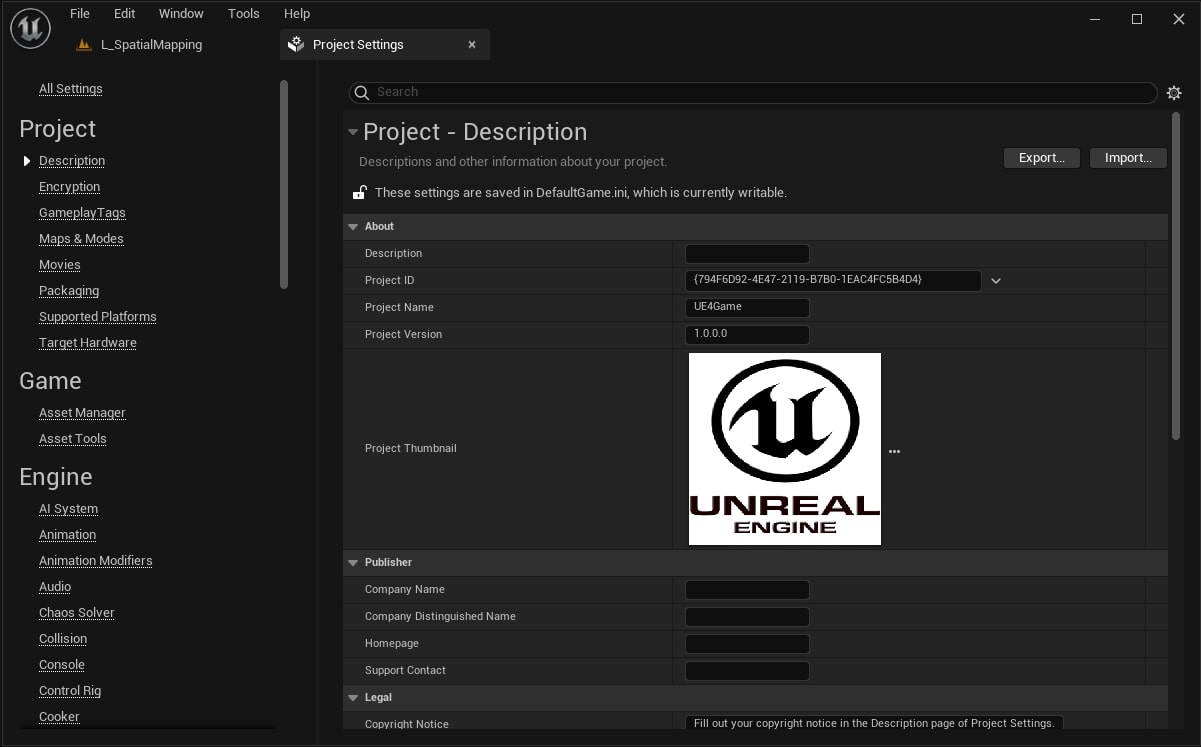
For the plugin to work, there are a number of configurations that have to be set properly. Let’s step through them. Go to Edit -> Project Settings. You’ll see this window:
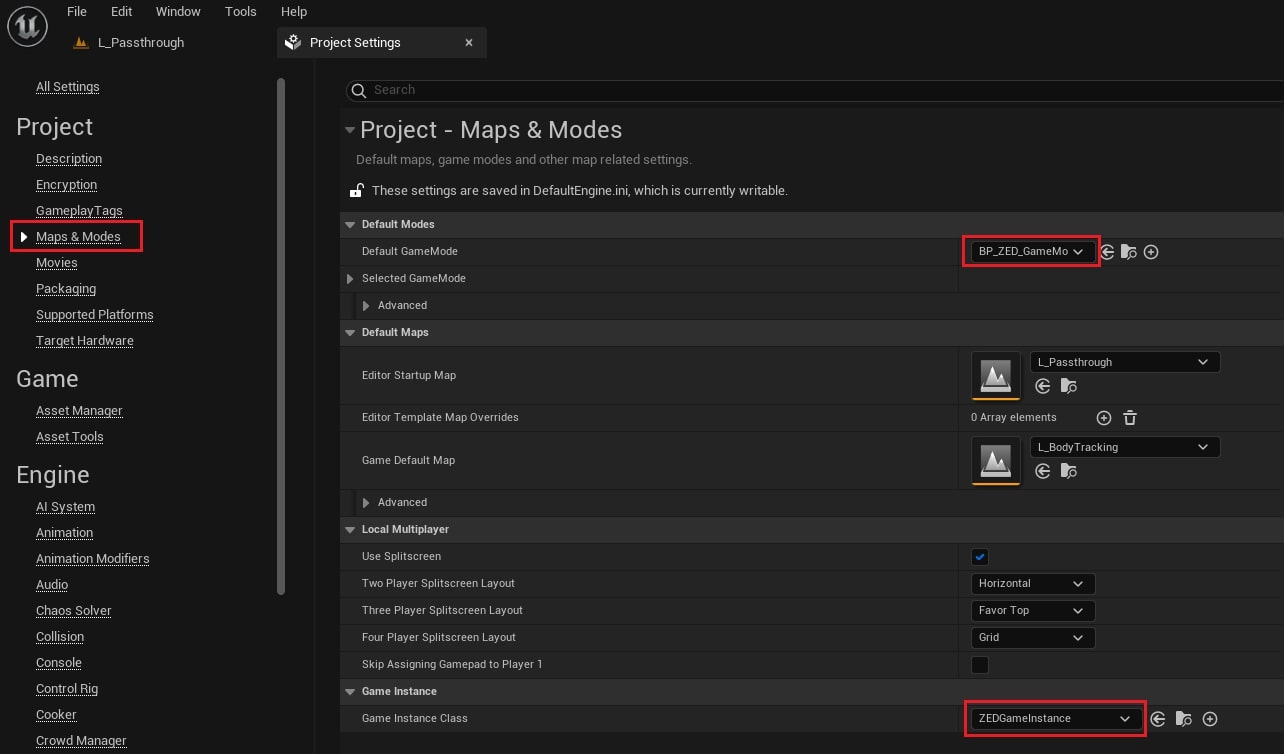
In Maps & Mode:
- Change the GameMode to BP_ZED_GameMode
- Change Game Instance Class to ZEDGameInstance
In General Settings:
- Change the Game Viewport Client Class to ZEDGameViewportClient
- Change LocalPlayerClass to ZEDLocalPlayer
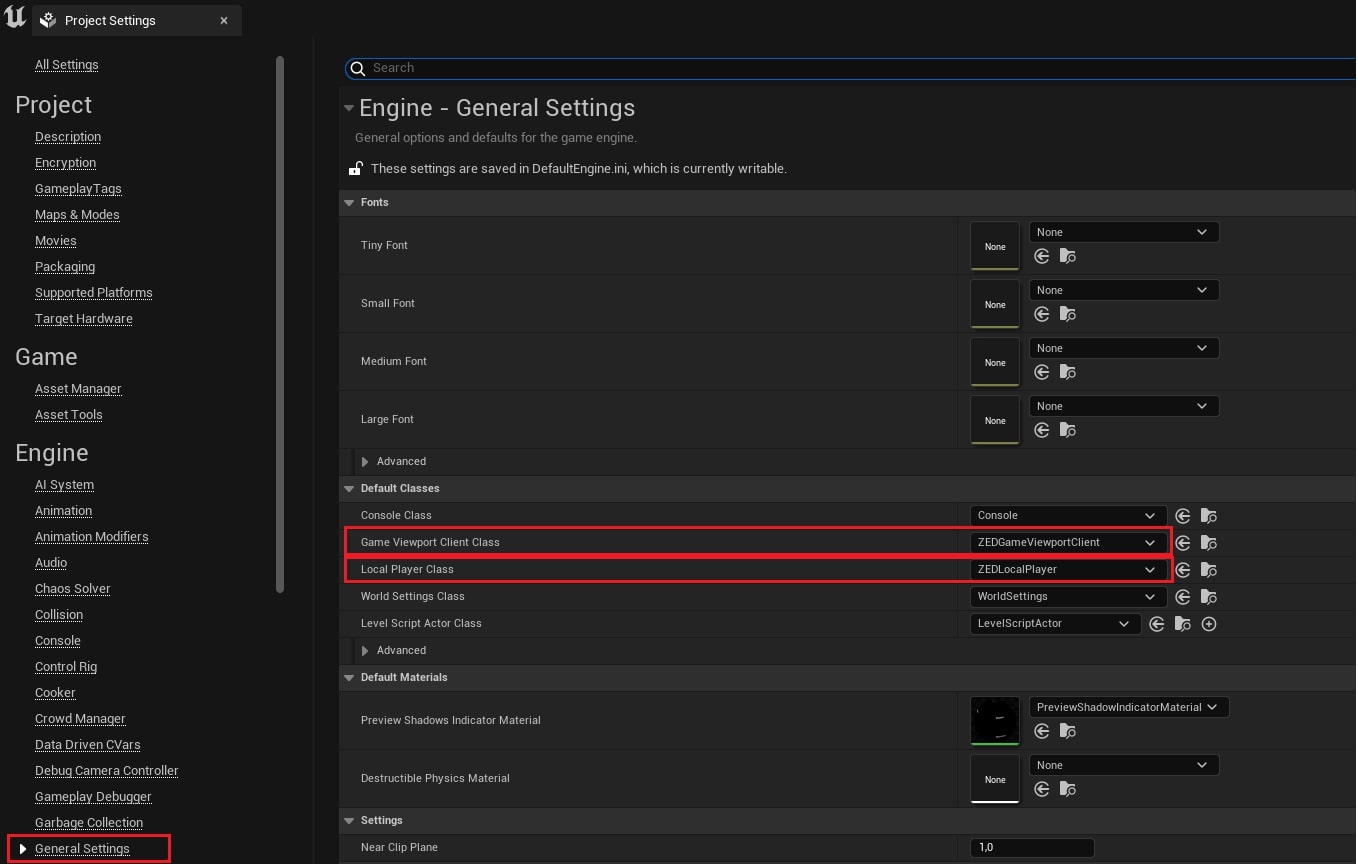
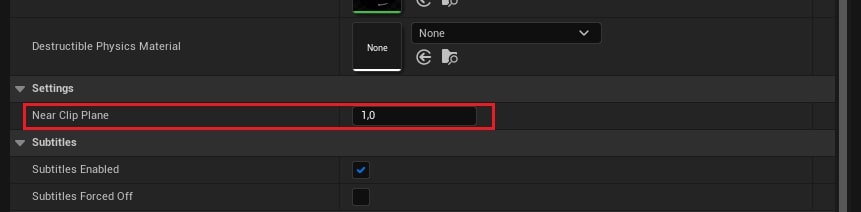
- Set Near Clip Plane to 1.0.
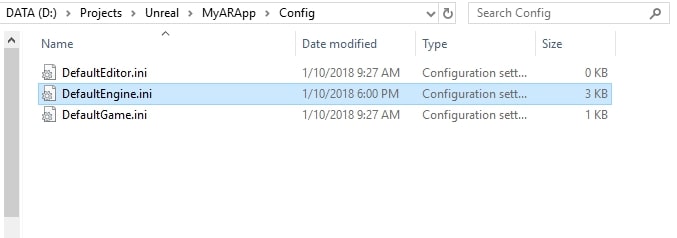
Next we’ll change graphics settings so that your project is optimized for AR experience with the ZED Mini. In Windows Explorer, go to your project folder, open the Config folder, and open DefaultEngine.ini.
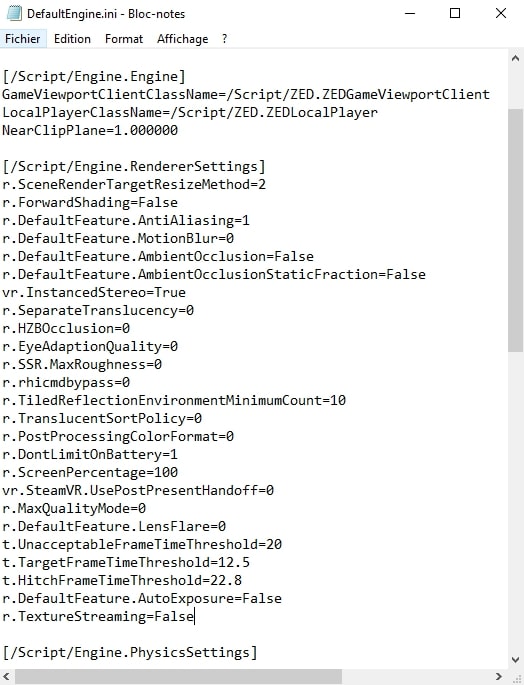
Open it and scroll down to [/Script/Engine.RendererSettings]. If you don’t find it, just copy-paste the lines below at the end of your file. Otherwise, there will be a few lines underneath it; erase them and then paste the following ones:
Your DefaultEngine.ini file should look like this (you could also have some other sections in this file like [/Script/EngineSettings.GameMapsSettings] or [/Script/Engine.PhysicsSettings] for instance):
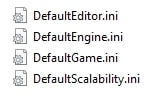
Now in the same folder as DefaultEngine.ini, create a new .txt file, rename it DefaultScalability.ini and open it. Paste the following lines inside:
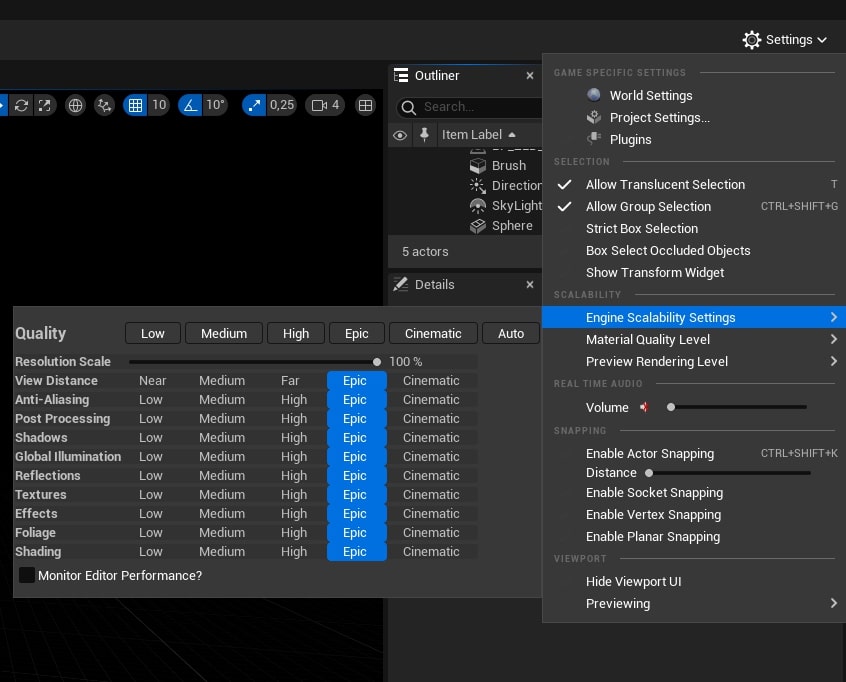
This file changes the engine scalability settings configuration in order to be optimized for AR. If you have any performance trouble when developing your application, you can easily change the engine scalability settings in the editor. This might improve your performance a lot depending on your scene content.
Your Config folder should now look like this:
Go back to the editor and you will see a notification at the bottom right that you need to restart it. Do so. Once you do, the skybox (background) in the editor may be different, but it’ll switch back to the white grid you saw before when it finishes building the shaders.