Getting Started
In this guide, we’ll add basic hand tracking and interactions to our Unity plugin’s Planetarium scene. This will let you knock planets around your room with your hands as though they were balloons.
Requirements
Hardware Setup
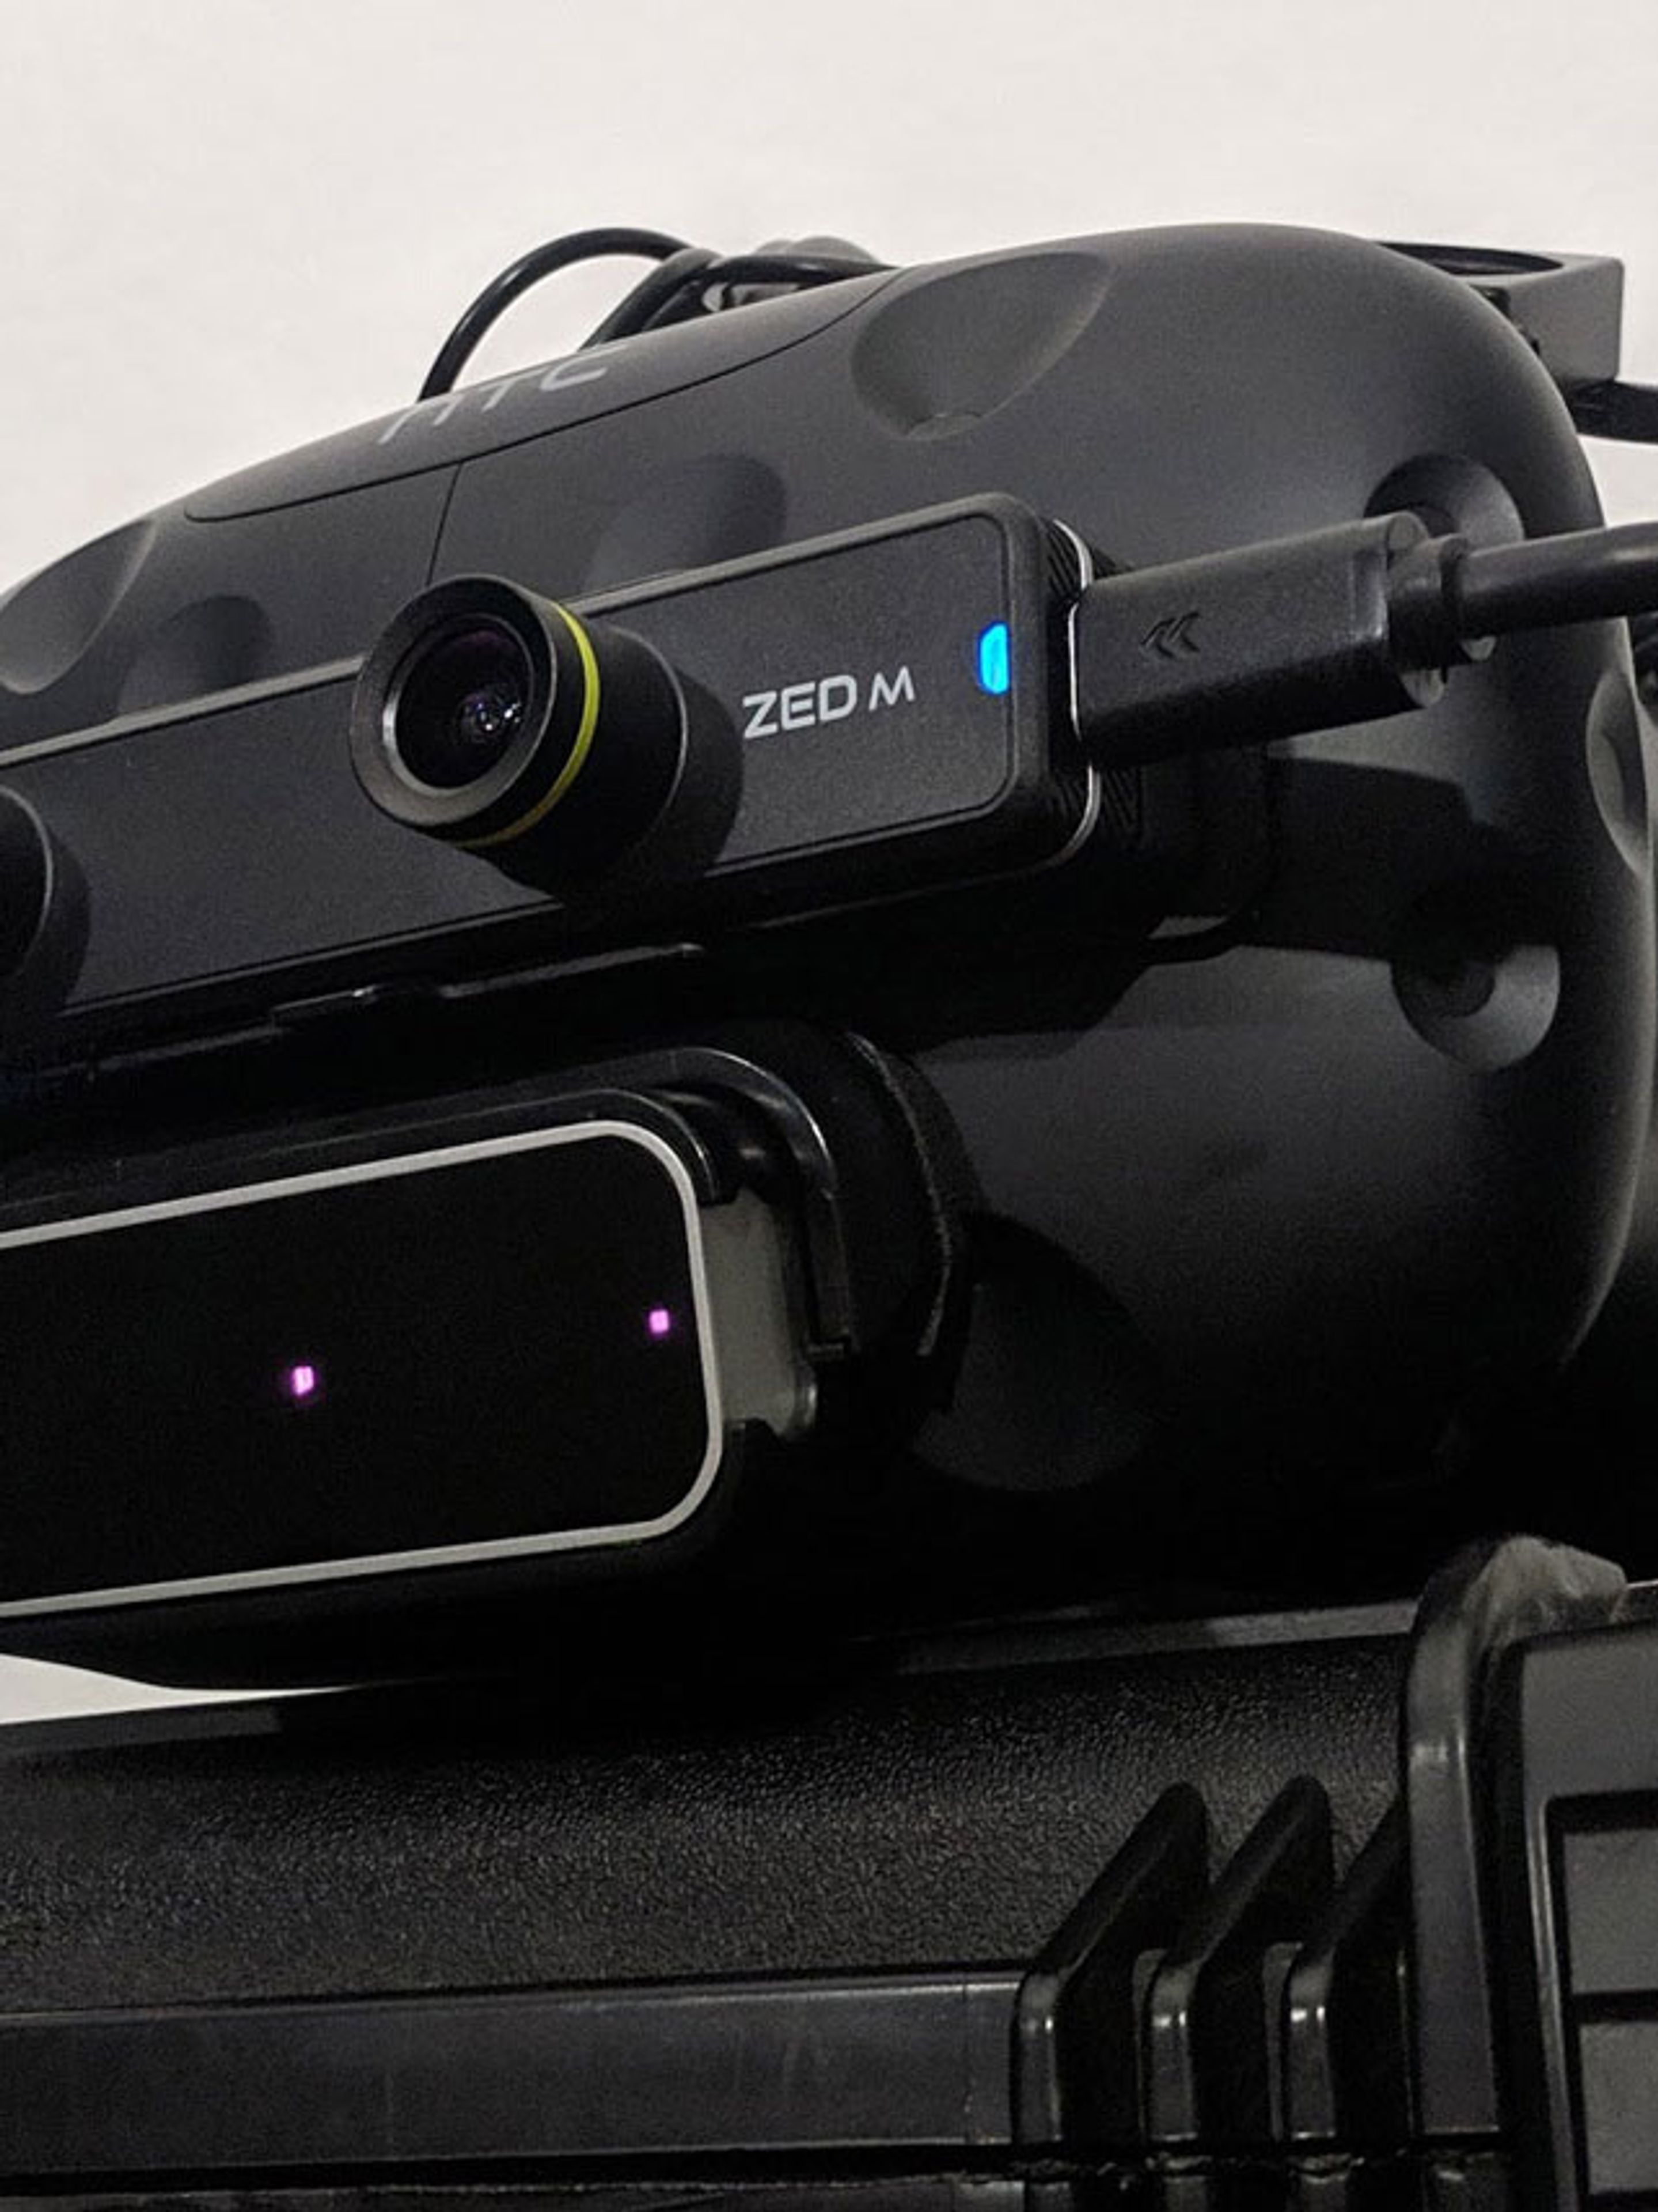
We’ll assume you already have a ZED Mini attached to an Oculus Rift or HTC Vive. If not, follow this guide [link removed] for the Rift and this guide [link removed] for the Vive, skipping the 3rd test step if you wish.
The setup guide for your Leap Motion tells you to attach it to the center, where you’ve already placed your ZED Mini. Instead, attach it just below the ZED Mini. We’ll compensate for this later in Unity.
If you haven’t already, make sure you’ve installed the ZED SDK and Leap Motion Orion.
Setting Up Unity
- Download the ZED Unity plugin and import it into Unity using Assets -> Import Package -> Custom Package
- Do the same with the Leap Motion Unity Core Assets
- Enable VR by going to Edit -> Project Settings -> Player, then in the Player menu, opening XR Settings and checking Enable XR
- Open the ZED Planetarium example scene via the Project window via ZED -> Examples -> Planetarium -> Scene
- In the Project window, navigate to LeapMotion -> Core -> Prefabs and drag the Leap Rig prefab into the scene.
Your scene and hierarchy should look like this:
Combining the Rigs
The Planetarium example scene already has the ZED_Rig_Stereo prefab in it, which handles the ZED’s image, tracking and headset output. By default, the Leap Motion rig also tracks the VR headset, using its own Unity camera. We have to switch it to follow the ZED rig instead.
- Expand ZED_Rig_Stereo, right click on the Camera_eyes object and click Create Empty. Name it “Leap Offset”
- Expand Leap Rig and click on Main Camera
- In the Inspector, disable the Camera component – we’ll be using the ZED’s camera for the final image instead.
- In the Leap XR Service Provider component, set Device Offset Mode to “Transform”. This causes the rig to follow a particular object instead of the VR camera.
- Drag and drop the new Leap Offset object from the Hierarchy into the Device Origin field
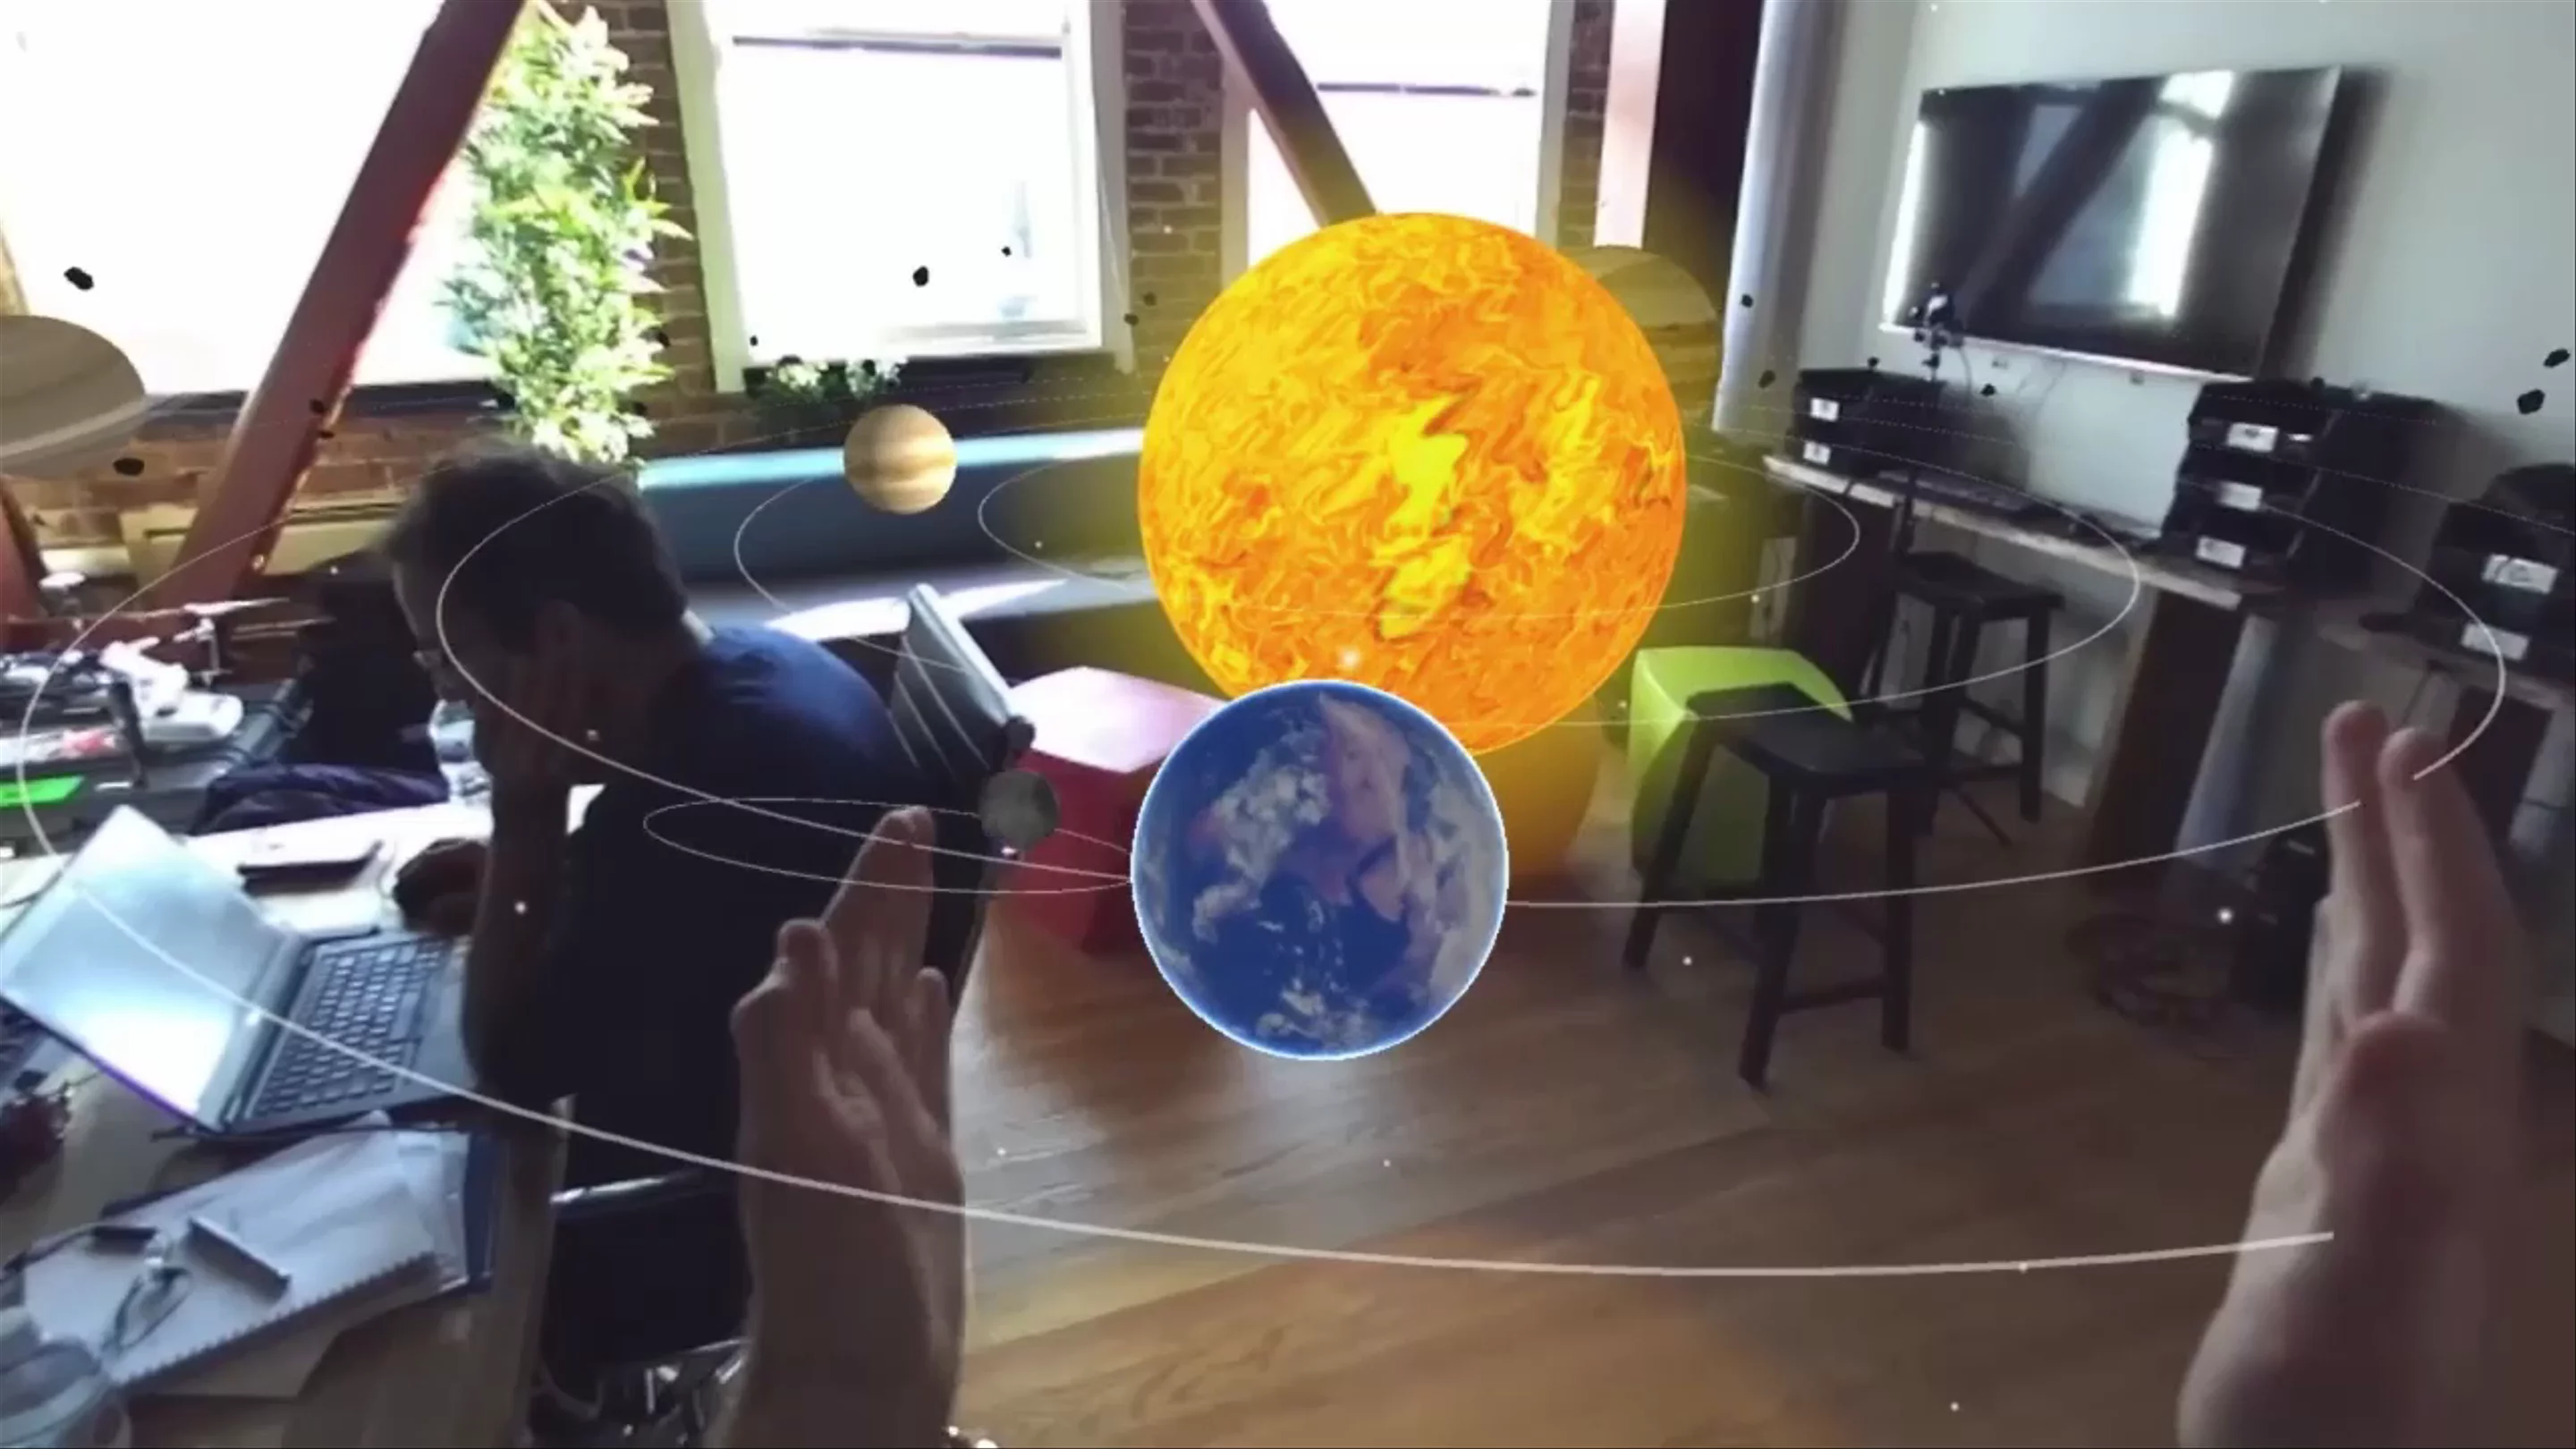
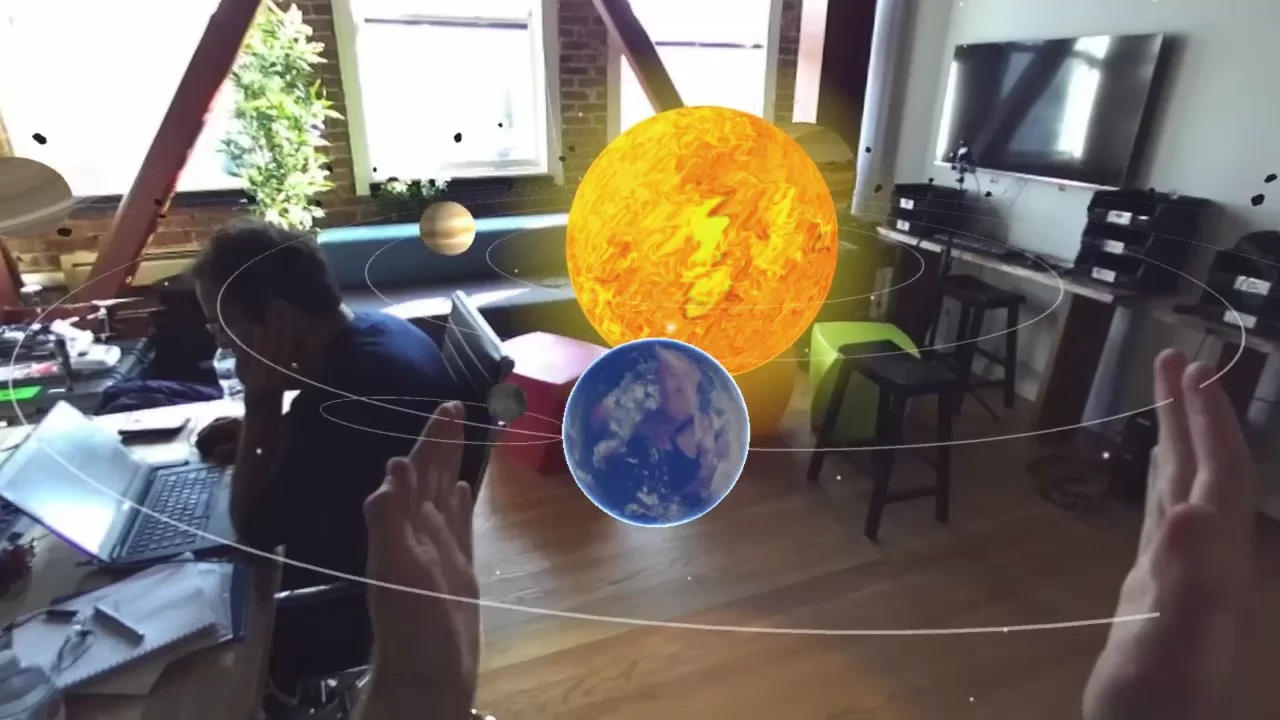
Run the scene and put on your headset. You’ll see your real-life room, but with planets floating around it. Bring your hands in front of you and you’ll see Leap Motion’s hand tracking in action, drawing wires along your hands.
However, they won’t match your hands perfectly:
ZED Mini and Leap need an offset correction
That’s because the Leap Motion is mounted below the ZED, so their images don’t line up. Fixing this is easy, thanks to the Leap Offset object we made.
Offsetting the Leap Hand Tracking Rig
- Without closing the scene, take off the headset, select Leap Offset and adjust its transforms to line it up properly. The Y position is most important, but make sure to move your hand around to make sure all axes are properly aligned. If using a Vive, you may also need to adjust the X rotation slightly.
- When you can see in the Game window that Leap Offset is in a good place, click the gear icon in the top right of Leap Offset‘s Transform component, and click Copy Component
- Stop the scene
- Click on that same gear, followed by Paste Component Values
- Save the scene
Now when you run the scene, the wires should already be lined up with your hands.
ZED Mini and Leap are now aligned in Unity
Adding Physics
The default “hands” used in the Leap rig let you see where they are, but they can’t collide with anything in the scene. We want the opposite – invisible hands that cause collisions – so that it appears your real-life hands are colliding with the virtual objects.
- In the Project window, navigate to LeapMotion -> Core -> Prefabs -> HandModelsPhysical
- Drag and drop RigidRoundHand_L and RigidRoundHand_R to the Hand Models object in the Leap Rig to make them children of it
- Select the Hand Models object.
- In the Inspector under Hand Model Manager, expand Model Pool and Capsule Hands
- In the Left/Right Model fields, replace the Capsule hands with the RigidRoundHands you just added.
- Delete the Capsule Hands that are children of Hand Models
The last step is to give something for the new physics-empowered hands to interact with. Adding colliders to the planets will do the trick.
- Expand the Planetarium object, and the Earth object below that
- Select all the planets, the Sun, and the Moon (a child of Earth) at once. In the Inspector, add a Rigidbody component
- Uncheck Use Gravity and check Is Kinematic on these new Rigidbody components
- With the objects still selected, also add a Sphere Collider component
- Select the objects individually and adjust the Radius value of the Sphere Collider until you see its bounds fit the planet in the Scene window
Save, run the scene, and put on your headset. Reach out and poke a planet. Dribble it between your palms. Punch the sun to send it flying toward your buddy. Earth and the rest of the solar system is now in your hands!
Result


